
Dec
Want to create a custom post type with Astra Theme? Well, you’re in the right spot.
The Astra theme is well-known for its flexibility.
Moreover, you can utilize astra_content_loop() to incorporate your own content into any existing post type.
However, there are instances when you require more customization.
This guide will demonstrate how to establish a custom post type that seamlessly integrates with the Astra theme.
You might be wondering why a Custom Post Type (CPT) is necessary.
To put it simply, there are situations where adding content to existing post types and templates doesn’t yield the desired outcome.
Consequently, having the ability to introduce an entirely new post type allows you to tailor it according to your specific requirements.
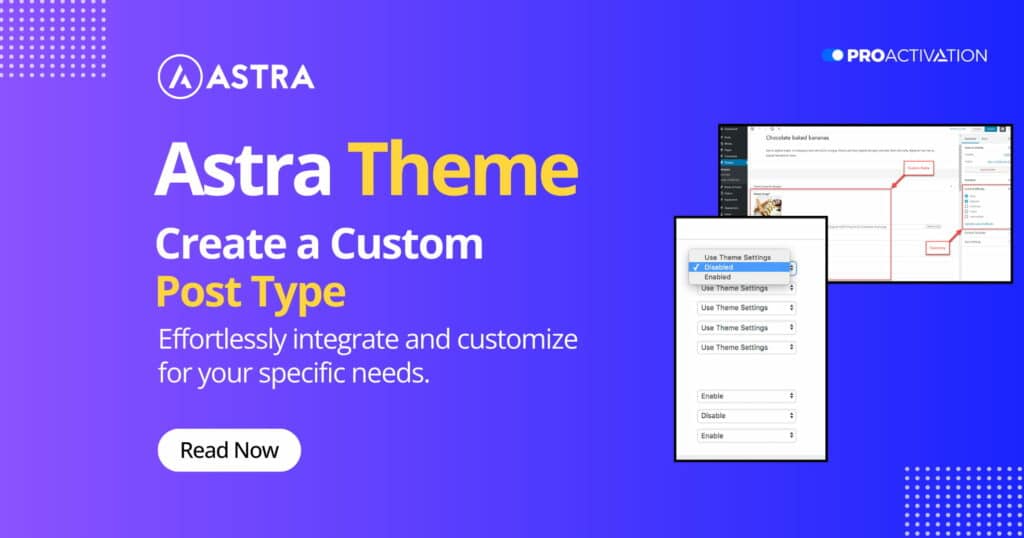
Adding a Custom Post Type (CPT) with Astra Theme
Adding Custom Post Types (CPTs) to your website comes with several advantages. For instance, it allows you to incorporate a CPT with a custom layout and functionality, making it suitable for content that doesn’t fit standard formats. Additionally, each CPT comes with a custom taxonomy, enhancing the organization of your content.
To demonstrate, we will import the “Businessly” Starter Template and create an additional CPT named Sessions. This template includes an “Interactive Sessions” page, with each session featuring specific details such as dates, hosts, and speakers. We’ll guide you through the process of creating a CPT that includes these options. Furthermore, we’ll set up the “Interactive Sessions” page as an archive for displaying Sessions.
Before you begin, ensure that you have both your Astra theme and Astra Child Theme configured. Also, import the “Businessly” Starter Template to your website. If you need assistance with the template import, refer to this guide.
Now, let’s walk you through the steps to register our Sessions CPT.
Register Custom Post Type in Astra Theme
You can create and name your custom post types as you see fit, and there’s no limit to the number you can add to your website.
To set up a custom post type, you’ll need to include a few lines of code in the functions.php file of your Astra theme. However, a drawback is that your custom post types might be removed with each theme update. To overcome this, we recommend registering your custom post types in the functions.php file of the Astra Child Theme. The child theme ensures that all your registered custom post types and other modifications remain intact during Astra theme updates. If you haven’t installed the child theme yet, you can follow the instructions in this guide.
Here’s a step-by-step guide to registering your custom post type:
Step 1 – Log in to your website and go to Dashboard > Appearance > Theme File Editor. On the top right side of the screen, select your Astra Child theme.
Step 2 – In the Theme Files list, click on functions.php to open the file.
Step 3 – Below the existing code in the file, add the following:
// Custom post type function
function astra_custom_post_types() {
// Basic Session Post Type
register_post_type('session', array(
'public'    =>  true,
'rewrite'   =>  array('slug' => 'sessions'),
'labels'    =>  array(
'name'  =>  'Sessions',
'add_new_item'  =>  'Add New Session',
'edit_item' =>  'Edit Session',
'all_items' =>  'All Sessions',
'sinuglar_name' =>  'Session'
),
));
}
// Hooking up the function to the Astra Theme
add_action('init', 'astra_custom_post_types');
The register_post_type function in WordPress is used for creating and defining custom post types. To use this function, you only need to provide two pieces of information: the custom post type name and an array containing post type options.
Moreover, you can customize the code based on your specific needs. For instance, you can include additional arguments such as:
- Block editor support: Set
'show_in_rest' => trueto enable support for the Block editor. - CPT archive: Set
'has_archive' => trueto add an archive for your custom post type. - Features for the CPT post editor: Use
'supports' => array('title', 'editor', 'excerpt', 'thumbnail', 'revisions', 'custom-fields')to specify which features should be available in the post editor (e.g., title field, editor, excerpt, featured image, revisions, and custom fields). - Add an icon to the admin menu item (dashicon): Include
'menu_icon' => 'dashicons-calendar'to assign a dashicon (calendar icon in this example) to your custom post type. You can choose from available dashicons by referring to the list and selecting the one that suits your needs.
Here’s how the modified code for our custom post type looks:
// Extended Session Post Type
register_post_type('session', array(
'public'    =>  true,
'has_archive'  =>  true,
'supports'  =>  array('title', 'editor', 'excerpt', 'thumbnail', 'revisions', 'custom-fields'),
        	'show_in_rest'  =>  true,
'rewrite'   =>  array('slug' => 'sessions'),
'labels'    =>  array(
'name'  =>  'Sessions',
'add_new_item'  =>  'Add New Session',
'edit_item' =>  'Edit Session',
'all_items' =>  'All Sessions',
'sinuglar_name' =>  'Session'
),
'menu_icon' =>  'dashicons-calendar',
));
You can expand the list of labels as necessary. Furthermore, for a more comprehensive approach, you can extend the code by including all your arguments using the $args variable. In this case, you would use the following code to register your custom post type:
register_post_type( 'movies', $args );
You’ve successfully registered your new custom post type, and you’ll see a corresponding new menu item in your Dashboard menu. For additional details and the complete list of available custom post type options, refer to this resource.
Update permalink structure
After creating and visiting a new custom post type (CPT) post, you may observe a “Page Not Found” notification on your website. This occurs because the WordPress permalink structure doesn’t automatically update when you register a new CPT.
So, whenever you add a new custom post type (CPT), you must manually update the permalink structure. To accomplish this, go to Dashboard > Settings > Permalinks. While you have the option to modify your permalinks here, it’s not necessary – simply click on the “Save Changes” button.
Creating Custom Template for Your CPT And Archive
After registering your custom post type (CPT), it’s time to see it on the front end. You’ll observe that it appears identical to your regular posts. The reason behind this is that we haven’t included a custom template for this CPT. Consequently, WordPress is utilizing the default template found in the single.php file.
If you check the Archive page for your custom post type (CPT), you’ll notice it appears the same as other archive pages on your website. The reason for this similarity is the same as before.
To create custom templates for your CPT, follow these steps:
Step 1 – Go to the root folder of your website and navigate to your Astra Child theme folder (usually located at /wp-content/themes/astra-child).
Step 2 – Add separate files for your CPT post and archive. Ensure these files are named in the exact format:
- single-{cpt-name}.php
- archive-{cpt-name}.php
In our case, we’ll name our Session CPT files as:
- single-session.php
- archive-session.php
These files will serve as blank templates that you can customize according to your preferences.
Step 2b – Alternatively, if you want to use the existing Astra template with some modifications, make copies of the original files. Copy the following files from your Astra theme folder (default path: /wp-content/themes/astra-child):
- single.php
- archive.php
Now, add these copied files to your Astra Child theme folder and rename them to:
- single-session.php
- archive-session.php
This will provide you with templates identical to the default files. You can then modify these files to change the appearance of your CPT pages.
Remember to place these files in your Astra Child folder. If placed in your Astra theme folder, they may be deleted during a theme update.
Update the Container Layout for Your CPT
While numerous Astra Customizer settings affect your custom post types (CPTs), there are some limitations concerning the container layout. By default, your CPT will adhere to the website’s container layout. However, if you wish to establish a distinct layout for your CPT, you’ll need to insert the following code into the functions.php file of your Astra Child Theme:
add_filter ( 'astra_get_content_layout', 'custom_post_type_content_layout'); // Update the container layout based on Custom Post Type.

function custom_post_type_content_layout ( $layout ){ // Add your CPT instead of Session. If you want to use this layout for more than one CPT, you can add them all separating each CPT by coma (eg. 'session', 'events').

	if ( is_singular( array( 'session' ) ) ) {
		$layout = 'boxed-container';
	}
	return $layout;
}
In the provided code, you must indicate the desired layout option and the custom post types (CPTs) to which it should be applied. Use the following codes for different layout options:
- Full Width / Stretched: Use ‘page-builder’
- Full Width / Contained: Use ‘plain-container’
- Content Boxed: Use ‘content-boxed-container’
- Boxed: Use ‘boxed-container’
Add Sidebar
Just like the container layout, the default Sidebar Customizer settings will affect your custom post types (CPTs).
To add a sidebar to your CPT, set it as the default value for the entire website by following these steps:
Step 1 – Go to Dashboard > Appearance > Customize > Sidebar;
Step 2 – In the “Default Layout” dropdown, choose either the “Left Sidebar” or “Right Sidebar” option.
Adding CPT Content
In a previous section, we explained how to add support for the Block (Gutenberg) Editor to your custom post type (CPT), allowing you to use the Block editor seamlessly.
However, if you prefer using Elementor or Beaver Builder instead, you need to enable them for your CPT.
To enable Elementor for your CPT, follow these steps:
Step 1 – Go to Dashboard > Elementor > Settings and select the “General” tab;
Step 2 – Under “Post Types,” mark the checkboxes next to the CPTs you want to edit with Elementor. Then, click the “Save Changes” button.
To enable Beaver Builder for CPT, follow these steps:
Step 1 – Go to Dashboard > Settings > Beaver Builder;
Step 2 – Select the “Post Types” option, and then check the CPTs you want to edit with Beaver Builder. Finally, click the “Save Post Types” button.
Astra Loop
Another option instead of creating a new Custom Post Type (CPT) is to utilize the astra_content_loop(). This allows you to add a CPT template content to existing post types. To implement this, add the following code to the functions.php file of your Astra Child Theme:
function add_cpt_content() {
    // bail if this current post type is different.
    if ( 'cpt' !== get_post_type() ) {
        return;
    }
    ?>
    <!-- Your custom HTML markup here -->
    <p>My custom theme HTML</p>
    <?php
}

add_action( 'astra_entry_content_before', 'add_cpt_content' );
Moreover, by incorporating your code using this method, any upcoming template modifications made by the Astra theme won’t affect the custom post type (CPT) content you’ve added. As a result, you won’t need to manually update your content in such instances.
Read More Related Articles
Astra’s Blog Pro: Unlocking Advanced Features for Your WordPress Website
Astra WordPress Theme Review in 2024 (Free vs Pro): Selecting the Right Fit For Your Website
25 Best Astra Premium E-Commerce Themes in 2024 – Uncover the Top Picks for Your Online Store.
Upgrade Your Website with Best Astra Premium Starter Templates for Blogs, Newspapers, and Magazines!
Astra 4.4 – Introduces New Impressive Features for Better Website Performance